n8n
Setting up n8n
Step 1: Create your VM
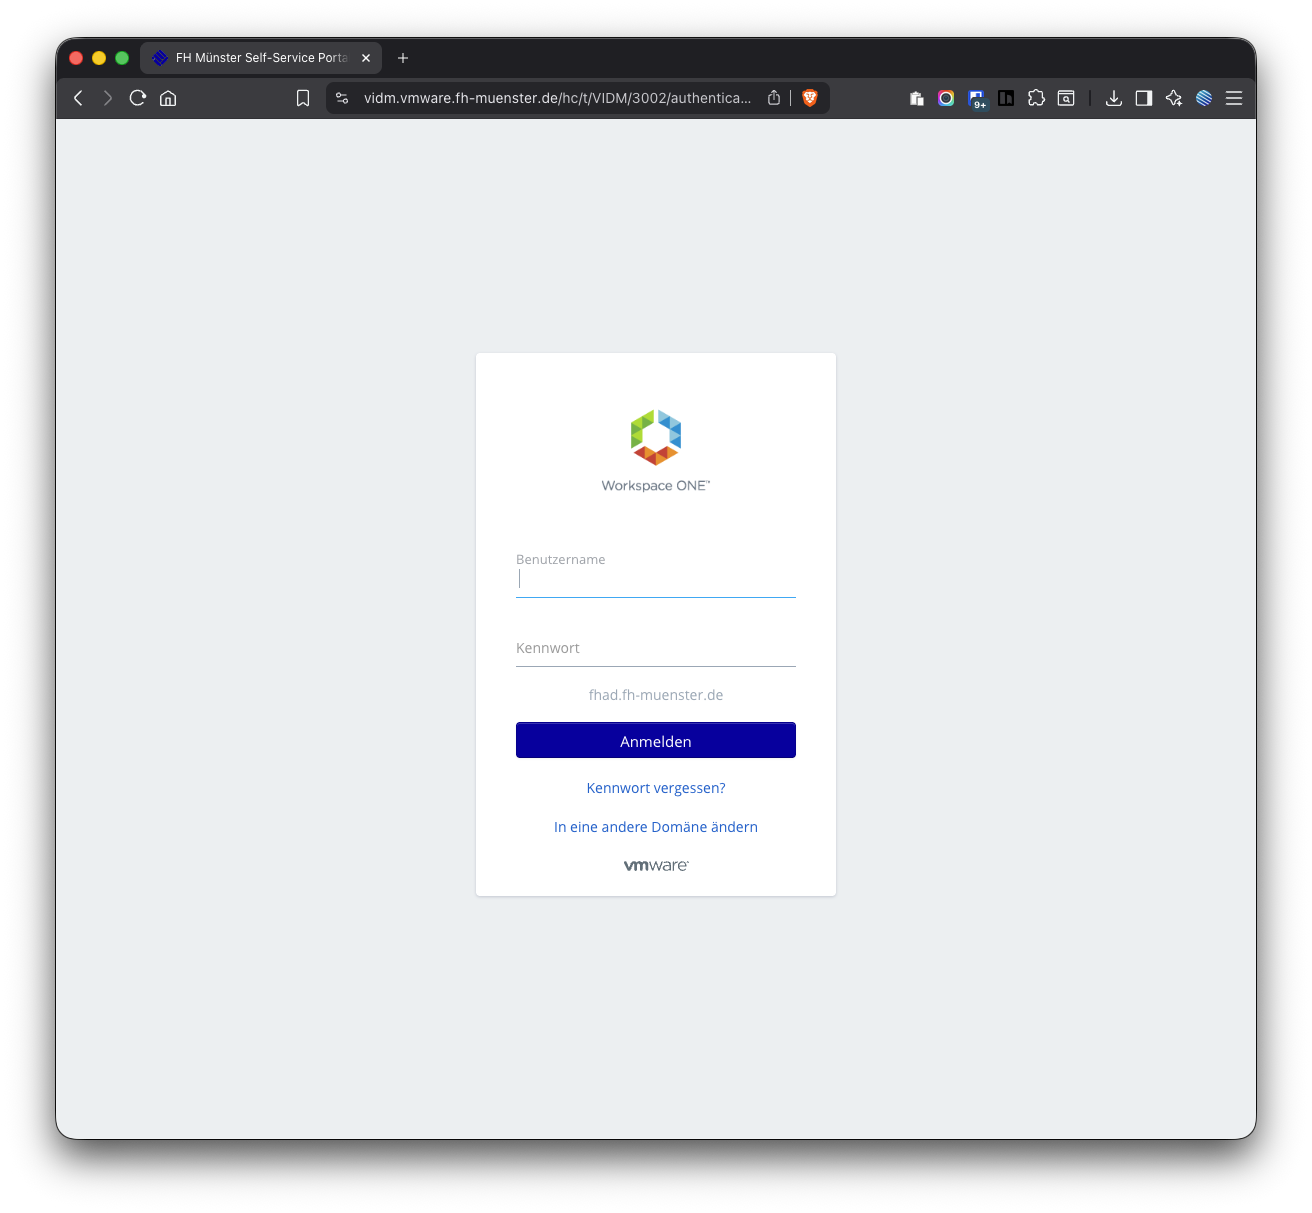
Go to FH Münster
VMware vRealize Automation (vRA)Login with your FH credentials.
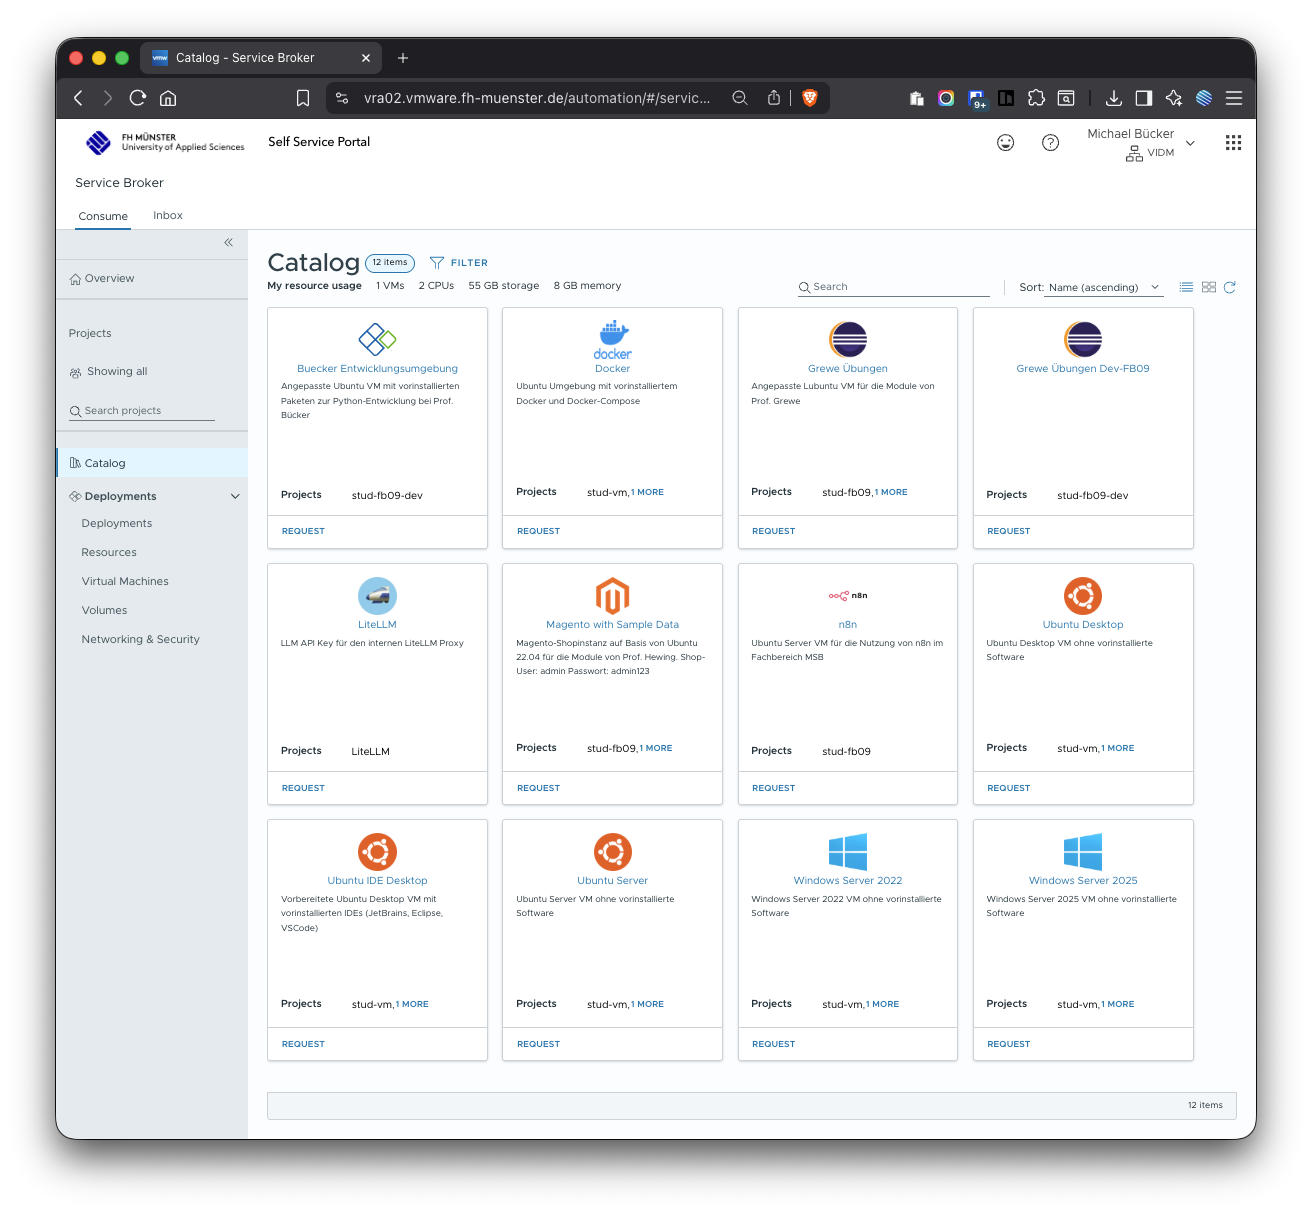
Click on Service Broker.
In the left menu, click on Catalog.
Select the n8n resource.
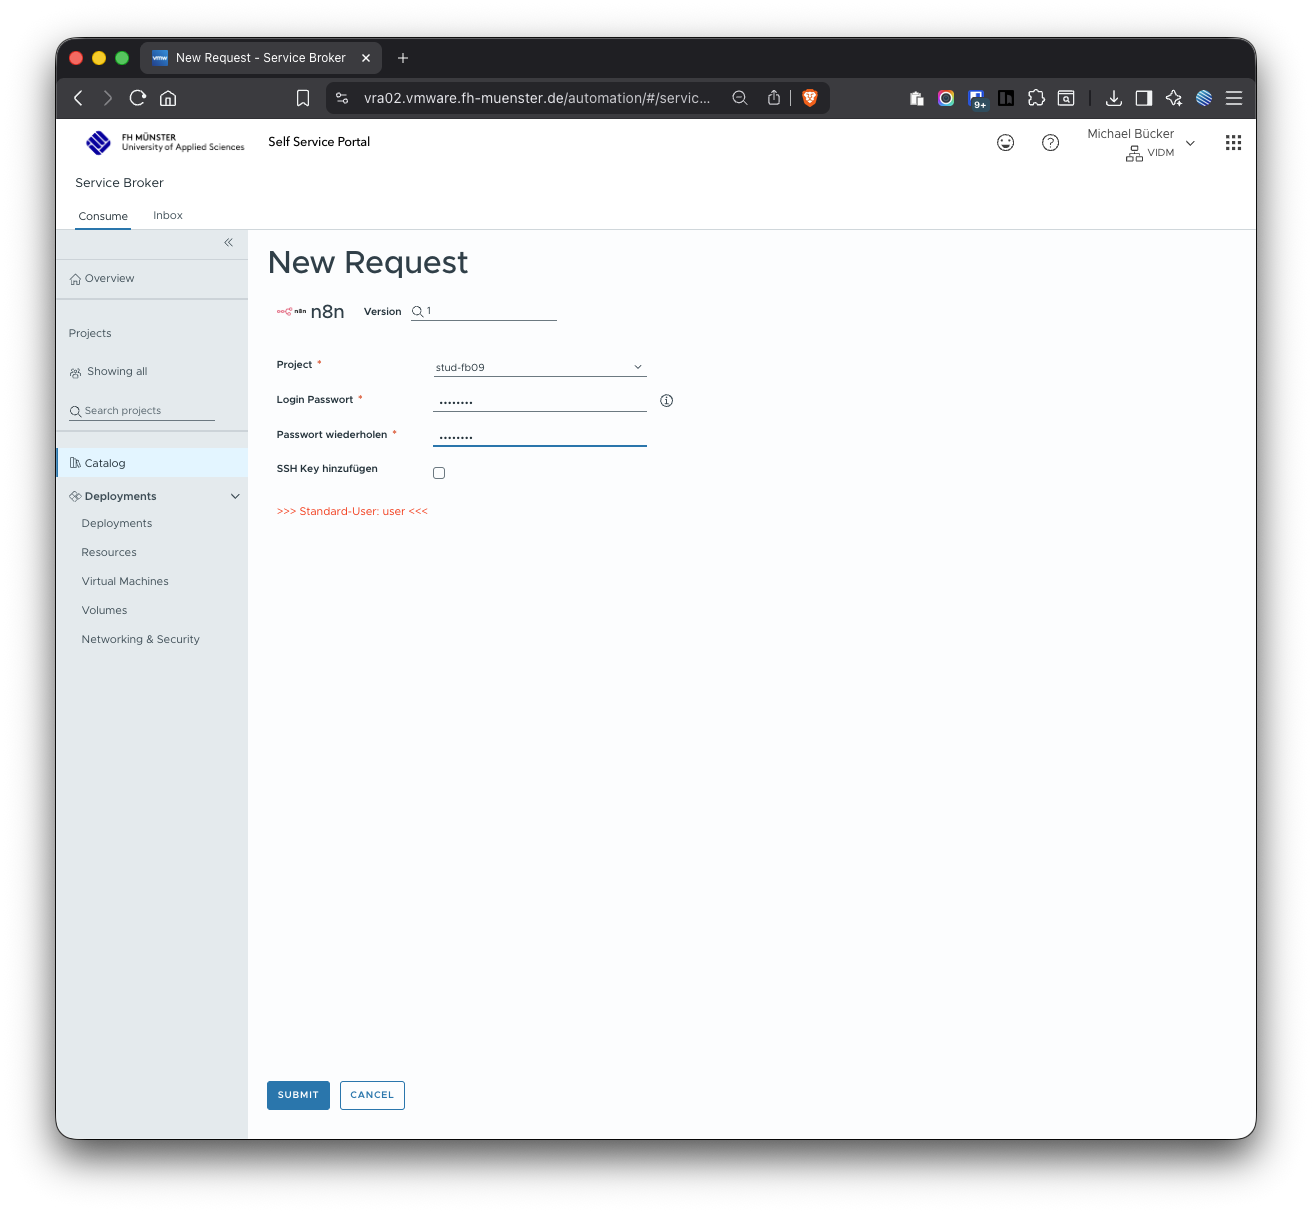
When prompted, set a password for the VM and store it securely.
👉 We will call this the VM password. You will need it later to log in via SSH.
Click Submit.
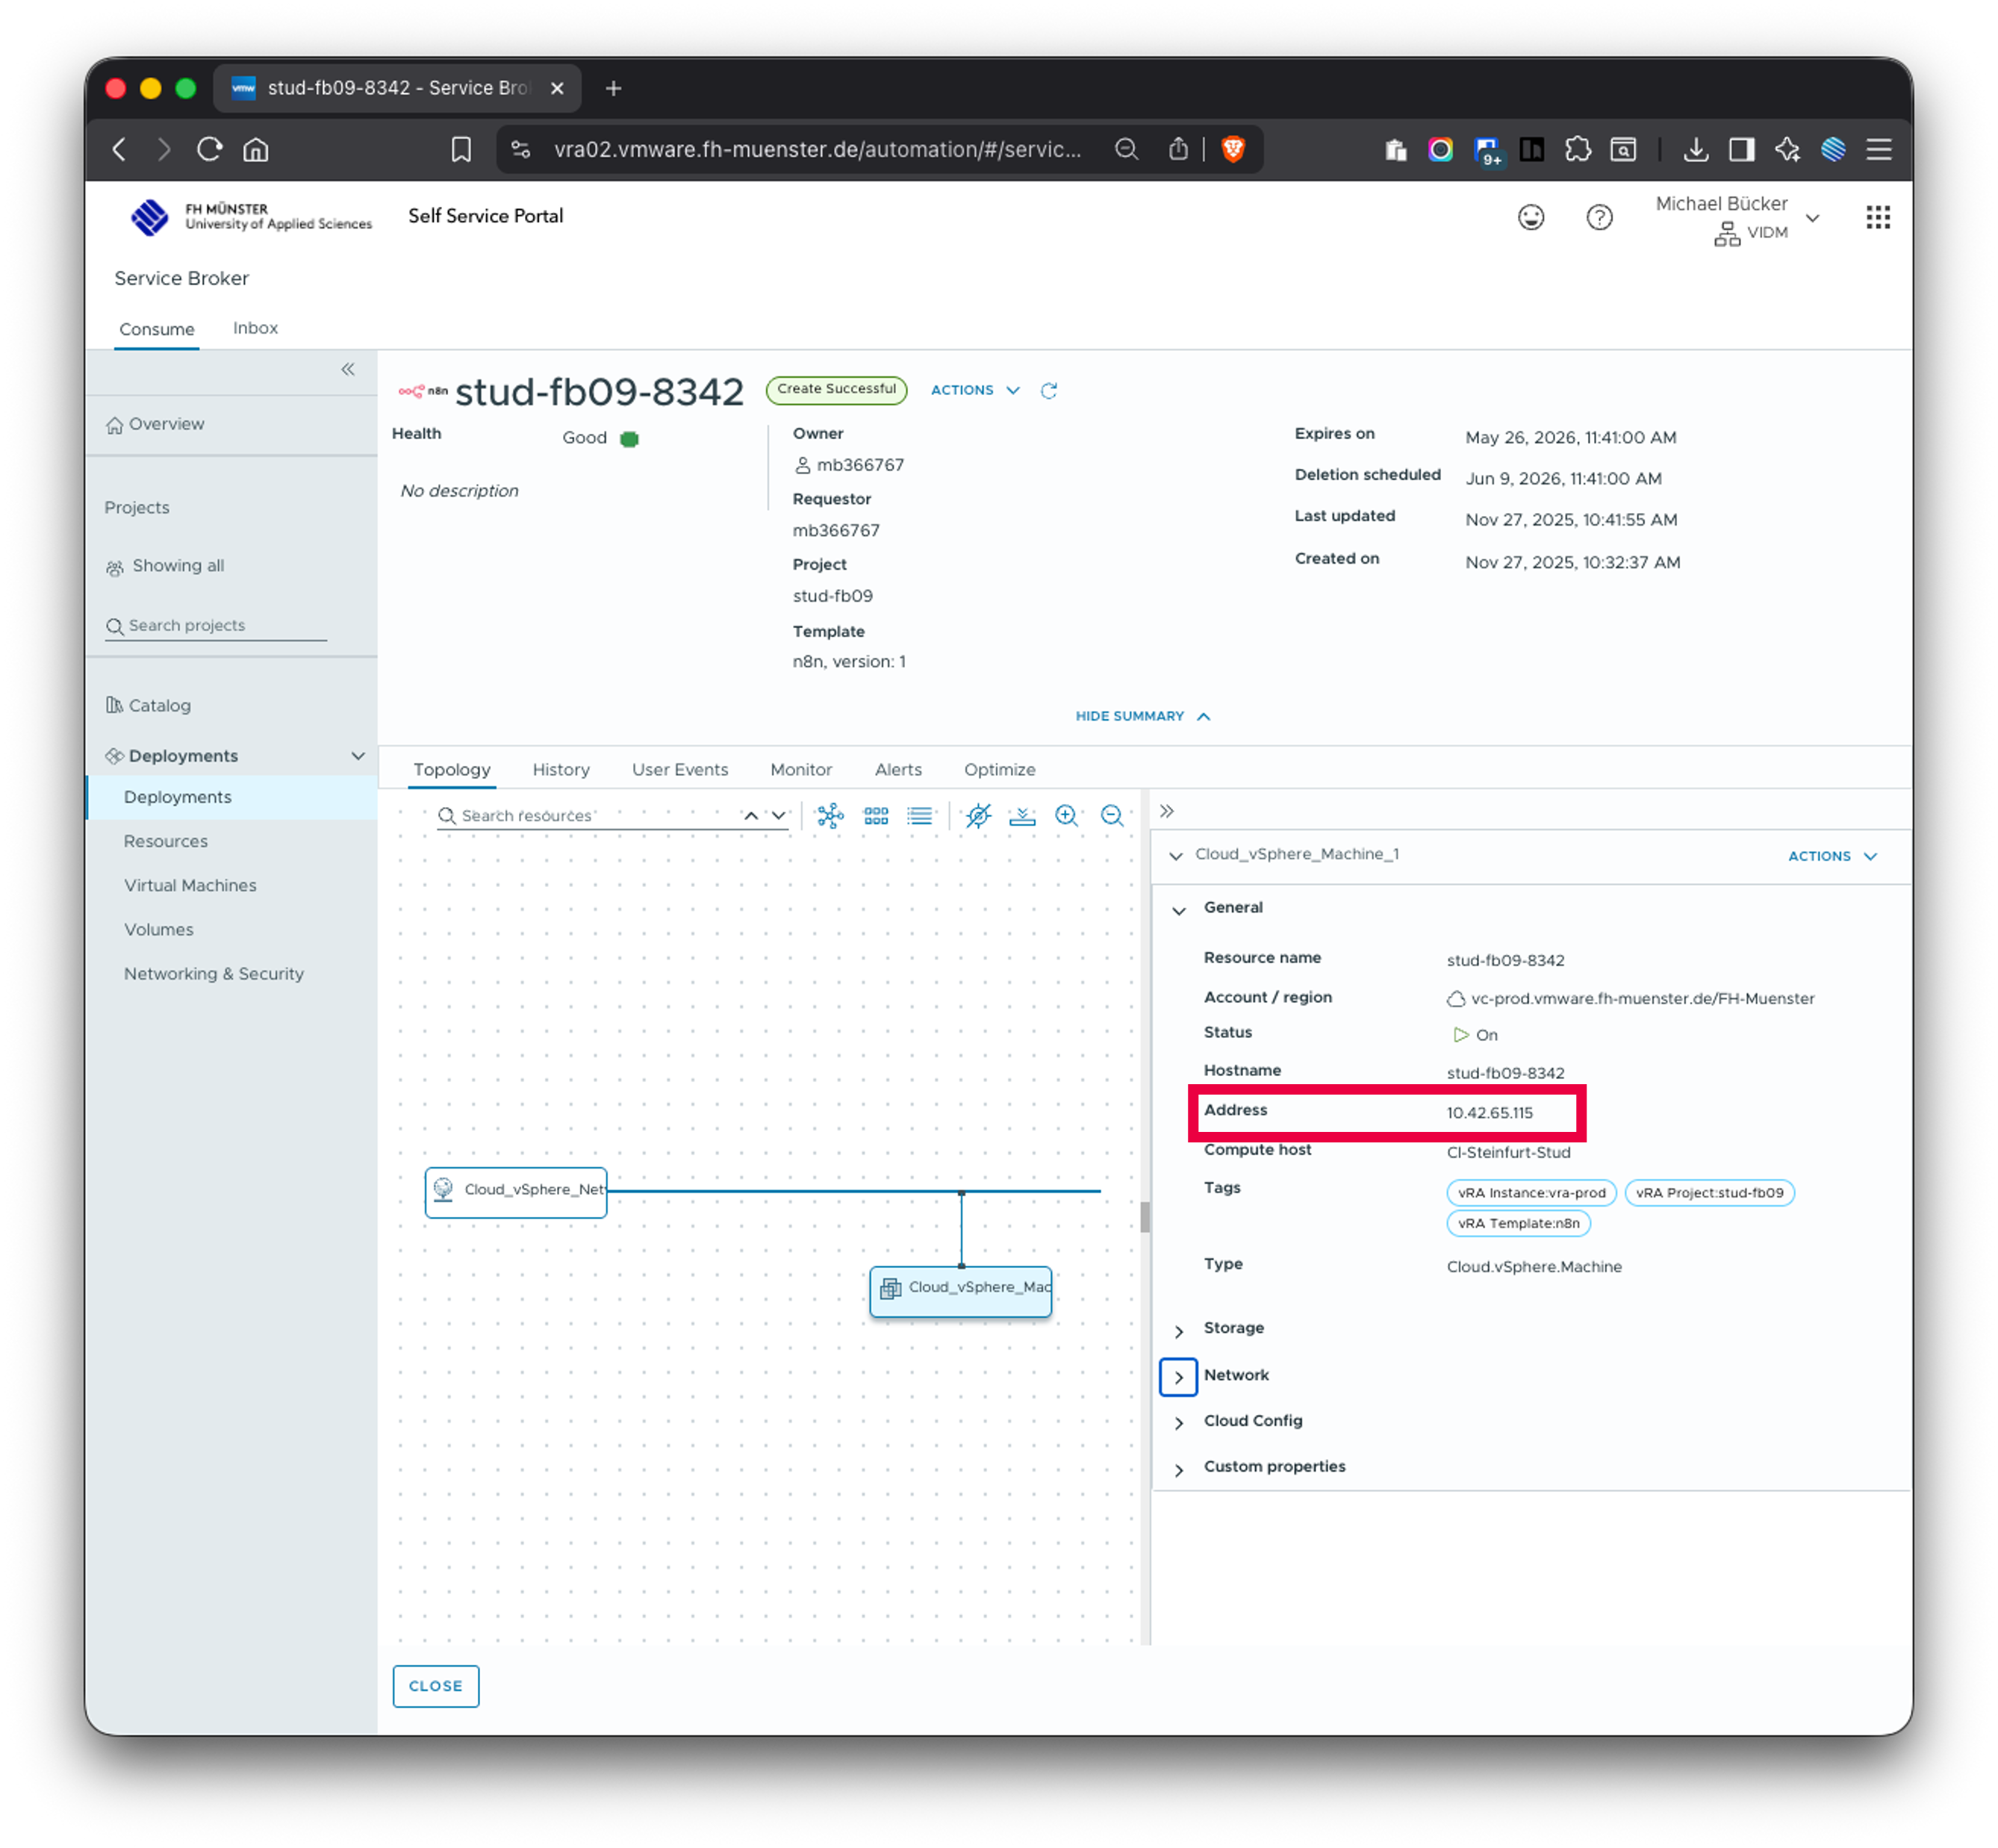
Your n8n server is now being set up (this can take up to ~10 minutes). You can check the status in Deployments.
Once the server is ready, click on it in Deployments and note both:
- the VM name (e.g.
stud-fb09-1234) - the IP address of the VM (e.g.
192.168.123.45)
👉 Important: You will later access n8n via the VM name, but you must use the IP address for SSH login.
- the VM name (e.g.
Step 2: First login to n8n (Web interface)
Open a browser and navigate to your n8n server using the VM name:
http://<VM-NAME>.n8n.fh-muenster.deExample:
http://stud-fb09-1234.n8n.fh-muenster.deCreate your n8n login credentials.
👉 This is a different password than the VM password.
We will call this the n8n login password.
Skip the next 2 onboarding steps.
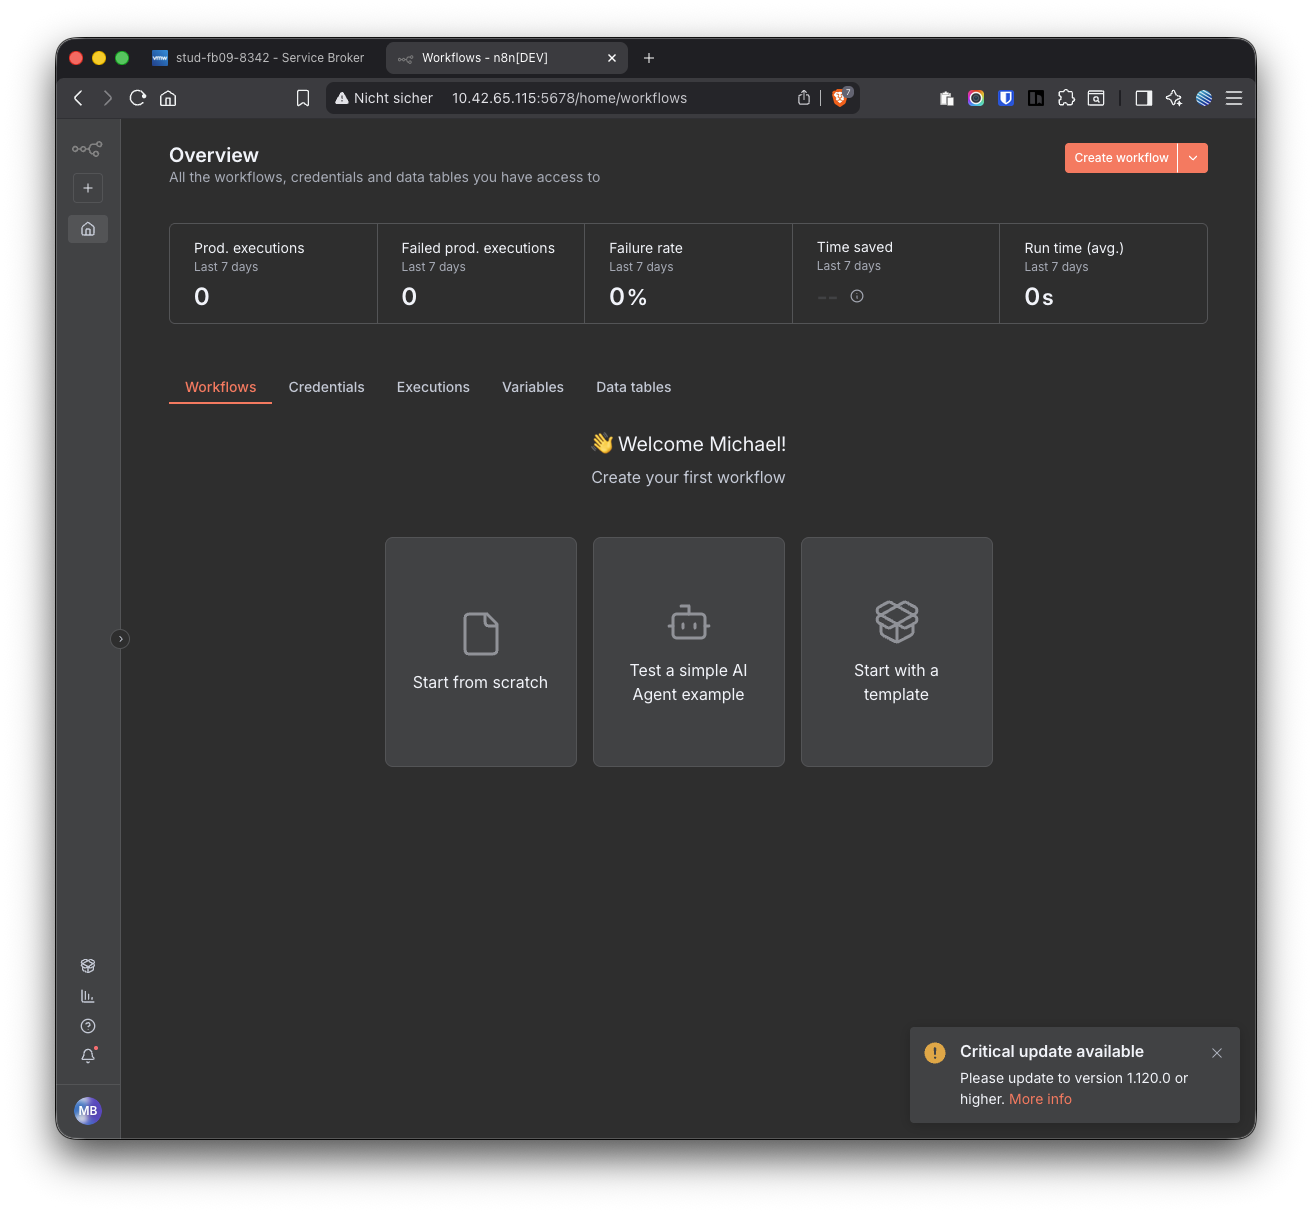
You should now see the n8n start screen.
Step 3: Continue using n8n
- Refresh the n8n page in your browser
- Existing workflows remain unchanged
Step 4 (Optional): Postgres + pgvector for Retrieval Augmented Generation (RAG)
If you want to store embeddings and run vector similarity search for RAG workflows, you can set up Postgres with the pgvector extension on the VM.
Log in to your VM via SSH (using the IP address)
On macOS or Linux
Open Terminal
Run:
ssh user@<VM-IP-ADDRESS>Example:
ssh user@192.168.123.45Enter your VM password
(nothing will be shown while typing – this is normal)
On Windows (PowerShell)
Open PowerShell
Run:
ssh user@<VM-IP-ADDRESS>Enter your VM password
After logging in to the VM via SSH, run the following commands to install Postgres
sudo apt update
sudo apt install -y postgresql postgresql-16-pgvector postgresql-contrib
Start Postgres
sudo systemctl enable --now postgresql
sudo systemctl status postgresql --no-pager
Set a password for the
postgresuserOpen a Postgres shell:
sudo -u postgres psqlThen set the password and exit:
ALTER ROLE postgres WITH PASSWORD 'postgres';
\q
Enable the
pgvectorextensionCreate a database and enable the extension:
sudo -u postgres psql
CREATE EXTENSION IF NOT EXISTS vector;
\q
Add Postgres credentials in n8n
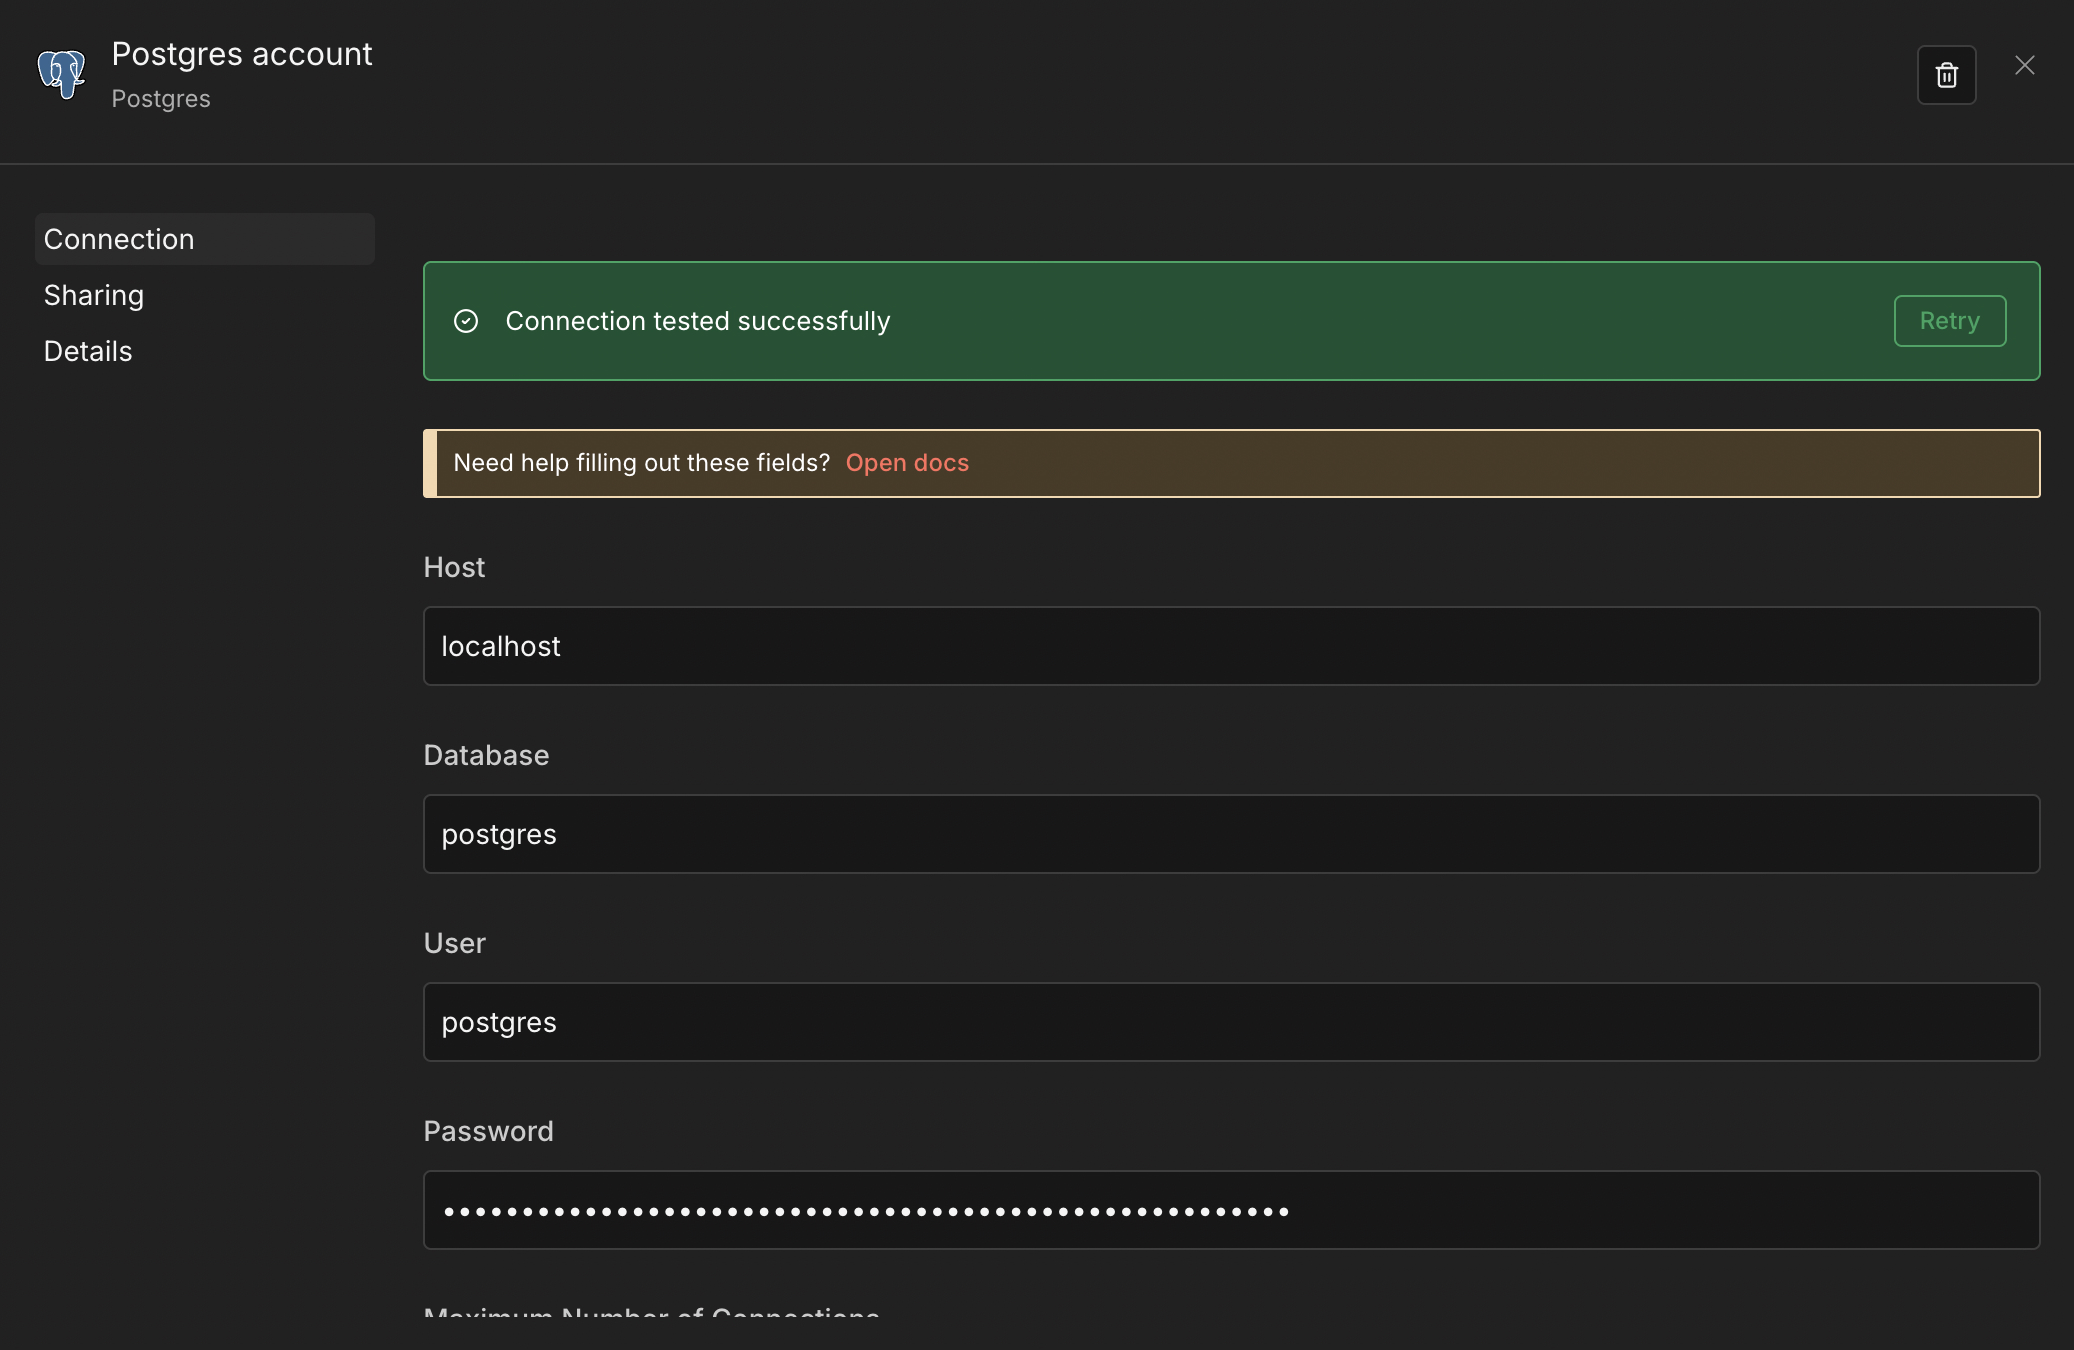
Create a new Postgres credential in n8n and use:
- Host:
localhost - Database:
postgres - User:
postgres - Password:
postgres
- Host:
Configure public webhook URLs (only if webhooks/integrations do not work)
In the current VM setup, these settings are typically preconfigured automatically. Only follow the steps below if you notice issues with webhooks or integrations (e.g. Telegram, Gmail, OAuth) and want to verify/fix the public URL configuration.
Log in to your VM via SSH (using the IP address)
On macOS or Linux
Open Terminal
Run:
ssh user@<VM-IP-ADDRESS>Example:
ssh user@192.168.123.45Enter your VM password
(nothing will be shown while typing – this is normal)
On Windows (PowerShell)
Open PowerShell
Run:
ssh user@<VM-IP-ADDRESS>Enter your VM password
Verify or edit the n8n configuration file
Open the configuration file using the editor nano:
sudo nano /etc/n8n.envScroll using the arrow keys and ensure the following lines exist
(replace<VM-NAME>with your own VM name):WEBHOOK_URL=https://<VM-NAME>.n8n.fh-muenster.de/ N8N_EDITOR_BASE_URL=https://<VM-NAME>.n8n.fh-muenster.de/ N8N_PROXY_HOPS=1Example:
WEBHOOK_URL=https://stud-fb09-1234.n8n.fh-muenster.de/
N8N_EDITOR_BASE_URL=https://stud-fb09-1234.n8n.fh-muenster.de/
N8N_PROXY_HOPS=1
Save and close nano Nano uses keyboard shortcuts:
- Press
Ctrl + O(save) - Press
Enterto confirm - Press
Ctrl + Xto exit
- Press
Restart n8n For the changes to take effect, restart n8n:
sudo systemctl restart n8n(Optional check):
sudo systemctl status n8n
You have two different passwords:
- VM password
- Used for SSH login
- Set during VM creation in vRA
- Used for SSH login
- n8n login password
- Used in the n8n web interface
- Created on first browser login
- Used in the n8n web interface
- Use the IP address for SSH, not the VM name
- If webhooks/integrations don’t work, check whether
WEBHOOK_URLandN8N_EDITOR_BASE_URLare set in/etc/n8n.envand restart n8n - After changes: restart n8n, refresh the browser, wait 1–2 minutes